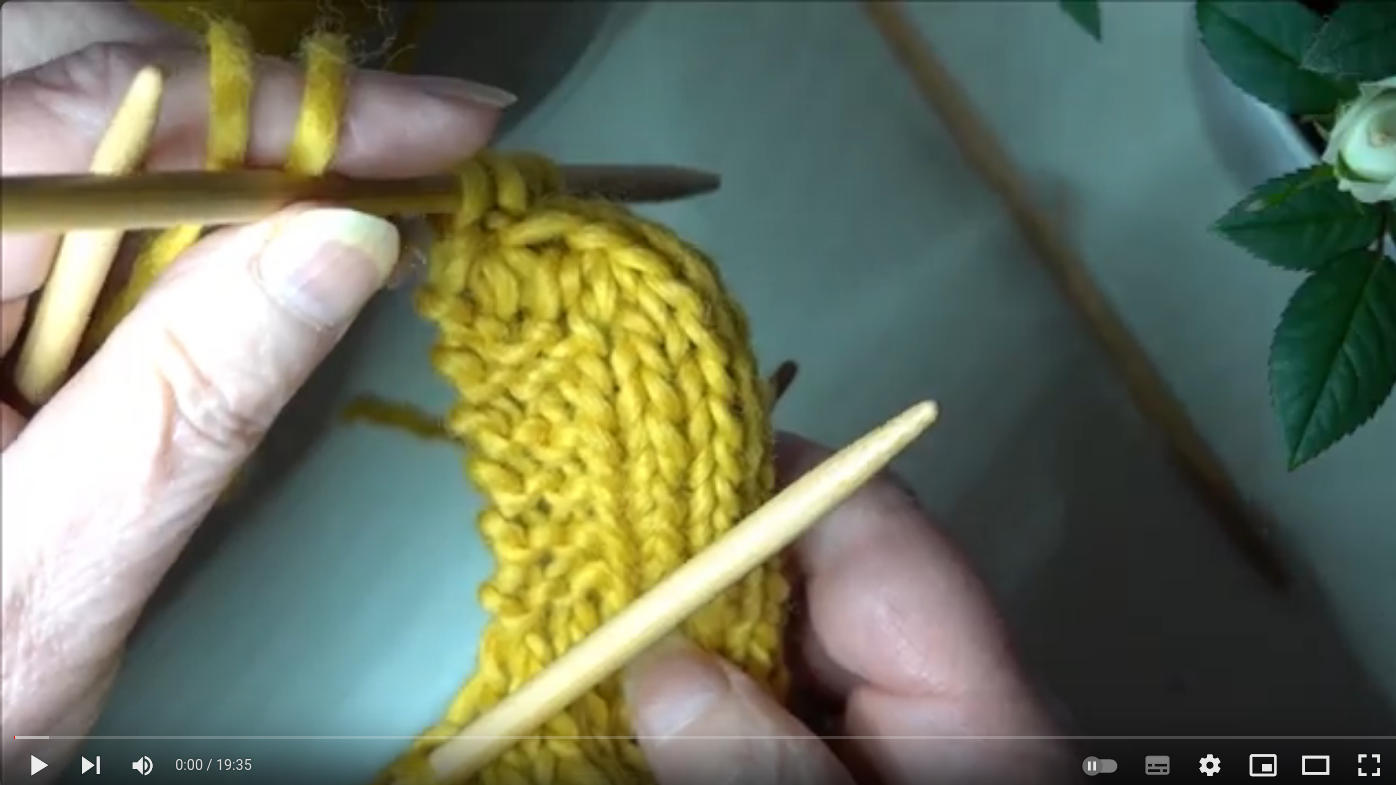
Usually, when knitting Socks, I keep things simple, because then I can, for example, listen to a podcast. In this case I had some single-coloured wool and knitting just along would have looked a bit too boring. Hence I wrote down my pattern (I am linking a short on how I do this). I am mostly too lazy to look around the net, since it really takes a lot of time only to end up using a very simple one or making my own. But yes, over time, I will also publish some more difficult ones. It’s just me loving simple stuff.
How to create your own pattern: https://youtube.com/shorts/WKXanK-7dUQ?si=tVZa2HRAi1IqMLQV
Materials used: Wool: 6-ply yarn for example: https://amzn.to/4bwwmuJ or https://amzn.to/4dWgFPa Needles (I love wooden needles): https://amzn.to/3KgUq92 or https://amzn.to/3wNBQlT
For me, food sovereignty is sovereignty over your life, livelihood and health. We are interconnected, therefore food sovereignty is an ecological process of co-creation with other lifeforms. It begins with seed sovereignty: saving and using living seeds. It involves care for the land and soil. We cannot have food sovereignty if we do not feed the soil organisms. Food sovereignty is based on organic farming and avoiding chemicals and poisons. Food sovereignty includes knowledge sovereignty, economic sovereignty and political sovereignty.
I found this on the net without a reference to a book or interview etc.
We have to shift the organic movement into a movement of the people.
Vandana Shiva in an interview for Real Organic Project
You are not Atlas carrying the world on your shoulder. It is good to remember, that the planet is carrying you.
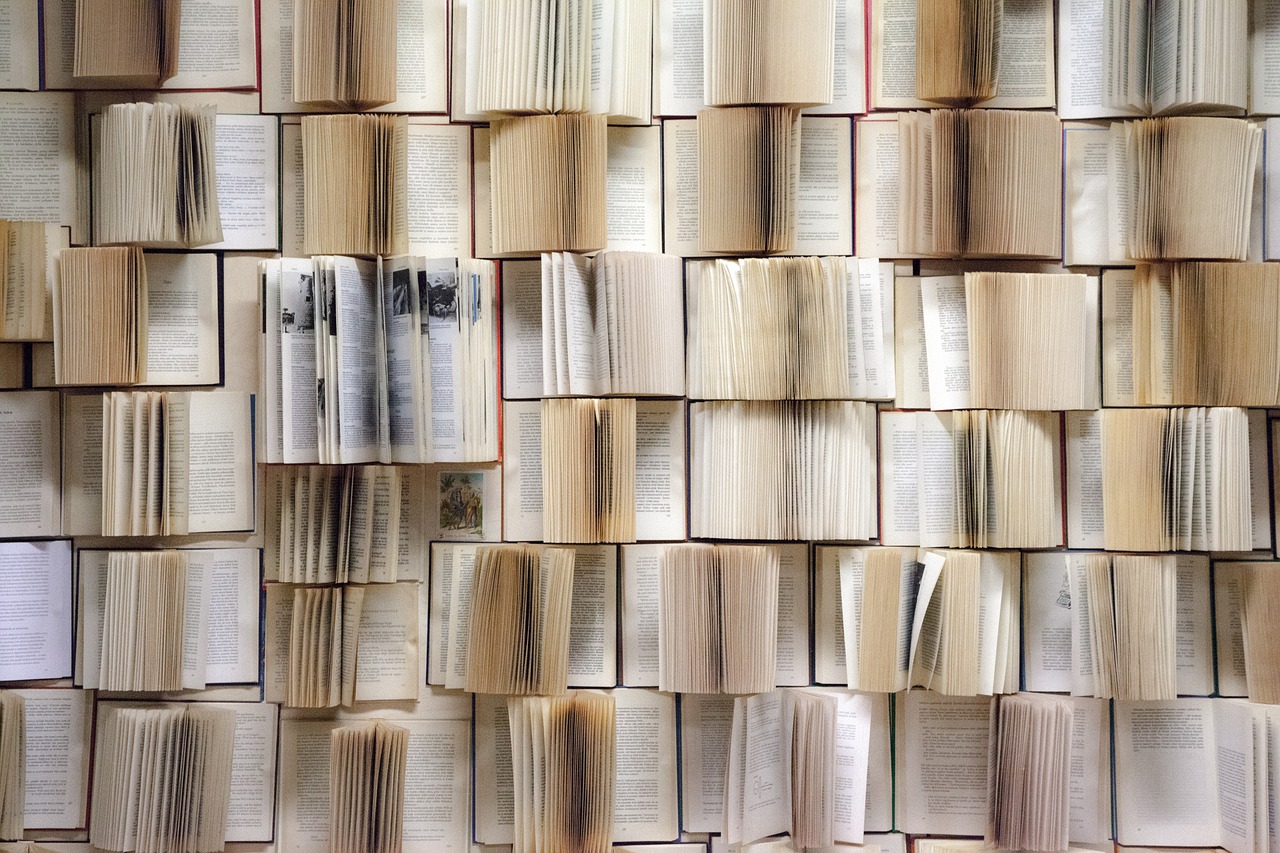
When something is available only digitally and not printed on paper, it is already lost.
Me 😀
I participated in many projects over truly MANY years. And bit by bit these projects vanished in the dark. So make sure one thing: that you have a paper copy. Publish digitally, but ALWAYS keep a paper copy.
This is the moment that one of the projects of my past, OmegaWiki, is not there anymore, and it is not going to be up again. What remains is my handwritten list of terminology for the Main Franconian language (ISO 639-6: vmf).
The rose hips must be nice and ripe, but still firm. They are dried and then cleaned with a cloth, a slice is cut off at the top where the flower was, and the rose hips are then freed from all seeds using a small, appropriately sized piece of wood. For 1 pound of fruit, you cook 1 pound of sugar in 200 grams of white wine vinegar, skim it well, cook the fruit until soft, remove them with a slotted spoon, place them in jars, cook the juice into a thin syrup, and then pour it lukewarm over the fruit.
(David Brocke, Ducal Cook in Ballenstedt – The Preserving and Canning of Fruits and Vegetables)
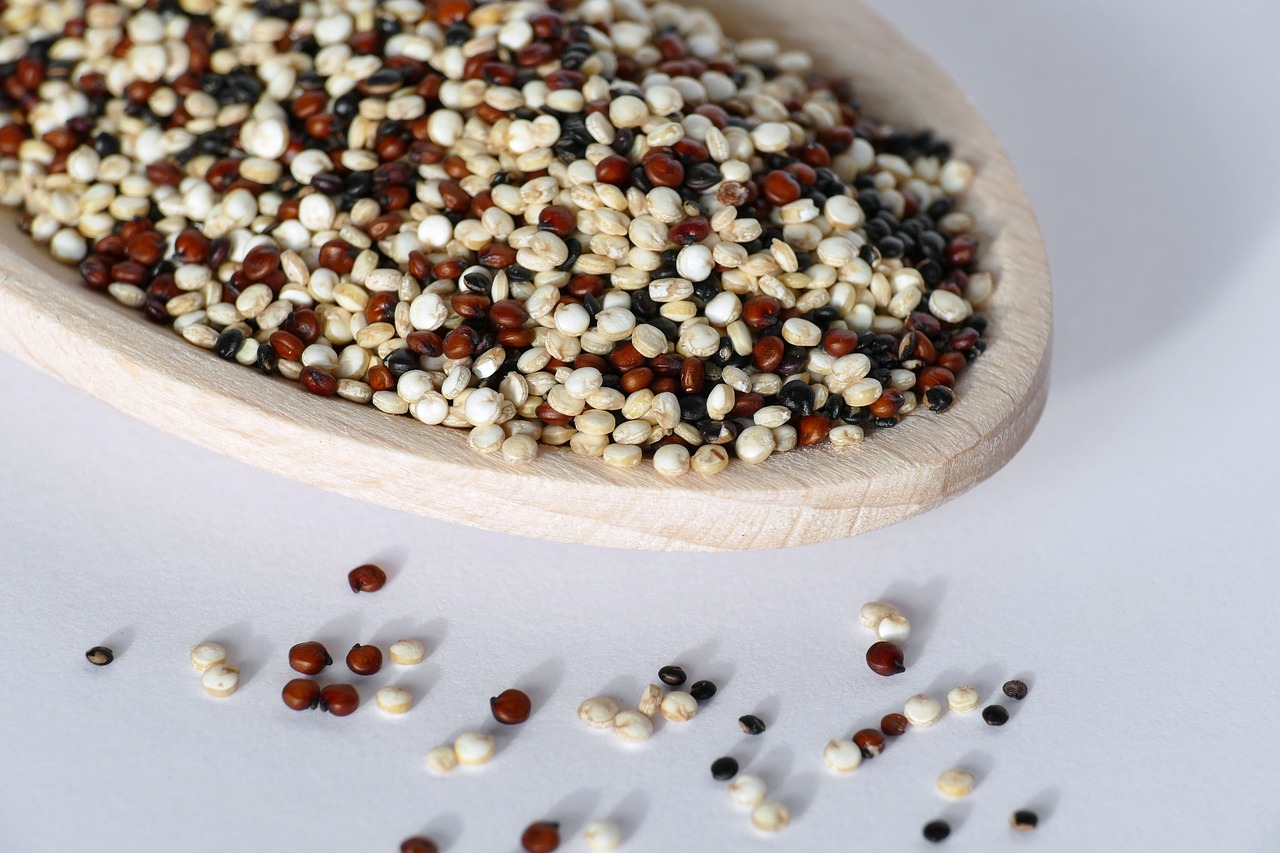
This is the answer to a question in the Beck’s Basics group on Telegram. The actual question was about rice vs. pasta.
Did you ever try millet instead of rice? It is a whole grain and lasts much longer. Polished rice is pure carbs and creates sugar spikes in the blood which leads to loads of insulin to be created which leads to a sharp fall of blood sugars and that leads to hunger. So you need types of carbohydrates that need longer to be digested. Millet, amaranth, quinoa, chia seeds (this one has loads of protein and fewer carbs, which is even better). Look for fewer carbohydrates and more protein in food. Our body deals well with proteins, but has problems with too many carbohydrates (due to sugar spikes). Modern wheat is heavily changed. Take a look at spelt, einkorn and other old grain varieties. These keep you full for a longer time.
Here I am showing you how to knit socks. First with very thick wool to help you to see things better and then with usual sock wool. If you have questions, please ask.
We are going towards the end of August and the mornings look like autumn days. I have to say this over and over again. What a strange year between heat, rain, foggy mornings. Some beans could be harvested, as well as radishes and chili. An evening out and a country festival in a city nearby, where I found a lady making bracelets and more with very small pearls. Actually, I did not even know about this festival. I learned that it was going on every year by chance, and therefore I wanted to take a look. We had some coffee and dinner there and while sitting down I did some naalbinding work, like so often. Naalbinding works are easy to take with you, even in a small bag. It was somewhat strange to see square dance here in Germany. Again, I was working on baby socks to get the trilogy for my friend ready. When the grass in front of the house was dry, I went to collect two plantain varieties and some yarrow. I use them for tea and sometimes to make tinctures. This time I dehydrated everything for tea. I first dehydrate on the air without using electricity and when everything is already “dry” (or almost dry) I place the herbs, zucchini etc. in the dehydrator for another bit of time, mostly 30 minutes, to make sure that they are really dry. The lavender cuttings and the apricot trees growing from seeds are growing well. Btw. should you be interested in an article from 1892 about growing peach trees from pits, you can read it on my website: https://sabinewanner.de/growing-peach-trees-from-pits/ It was also time to put away my zucchini chutney, and so I had to label the jars. I usually use masking tape, since it is easy to remove. Should I give some jars as a present, I remove the masking usual masking tape and write a “nice one”. Like you can see, I am dehydrating a lot this year. One reason is also that dehydrated veggies take less space than canned ones (I don’t have a cellar, so having methods that require less space is relevant).
Here is my linktree, from where you can find other contents: https://linktr.ee/mamaskram
If you would like to buy me a coffee, you can do so here: https://www.buymeacoffee.com/mamaskram
Music: Dream Machine by Purrple Cat | https://purrplecat.com Music promoted by https://www.free-stock-music.com Creative Commons / Attribution-ShareAlike 3.0 Unported (CC BY-SA 3.0)
Mountain Legend by Keys of Moon | https://soundcloud.com/keysofmoon Music promoted by https://www.free-stock-music.com Creative Commons / Attribution 4.0 International (CC BY 4.0)