Beetroot
I don’t believe anyone in the history of colouring wool has ever had good and permanent results with beetroot, not only is it fugitive, it is also pH sensitive. (Paul Henry)
I don’t believe anyone in the history of colouring wool has ever had good and permanent results with beetroot, not only is it fugitive, it is also pH sensitive. (Paul Henry)

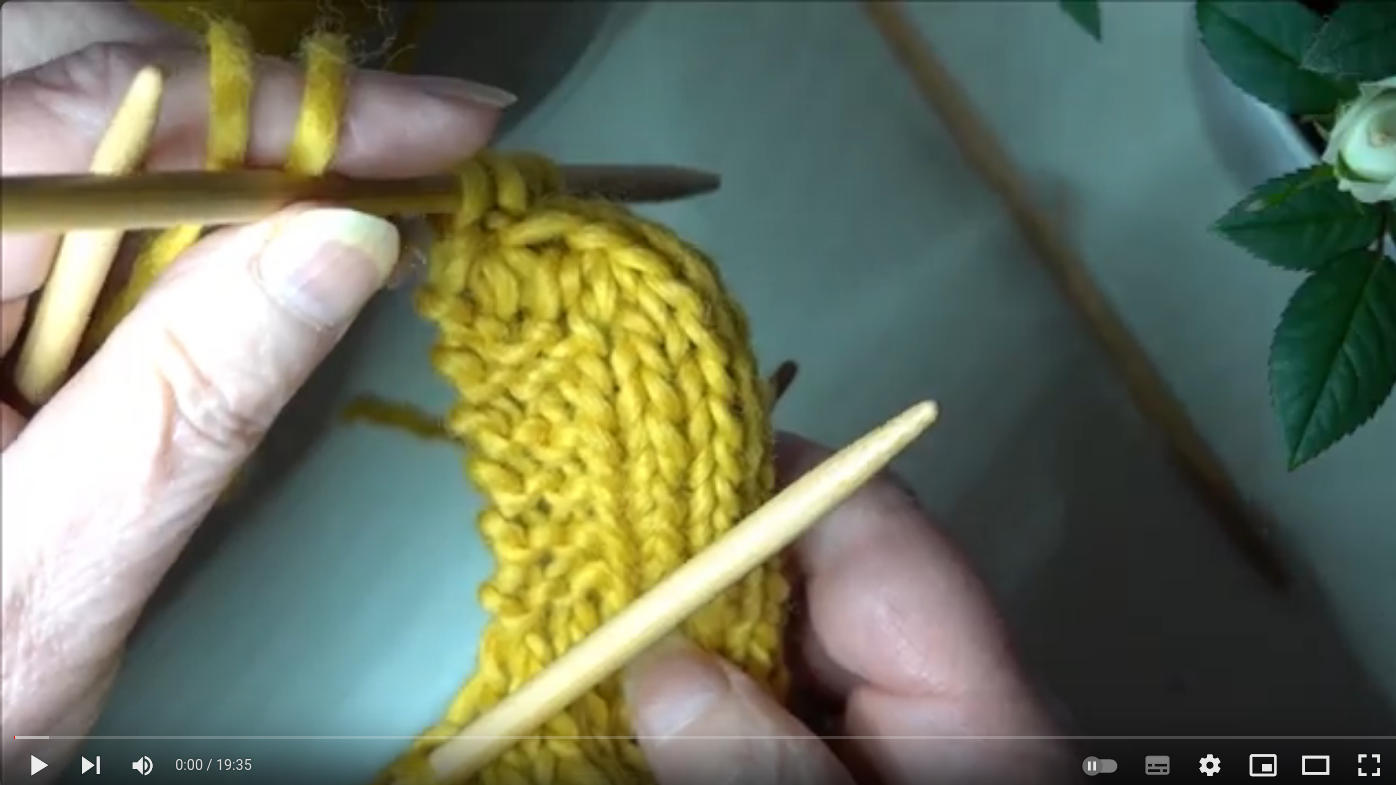
Here I am showing you how to knit socks. First with very thick wool to help you to see things better and then with usual sock wool. If you have questions, please ask.
Knitting socks – part 1 – cuff and shaft
Knitting socks – part 2 – heel
Knitting socks – part 3 – gusset
Knitting socks – part 4 – top and finishing off

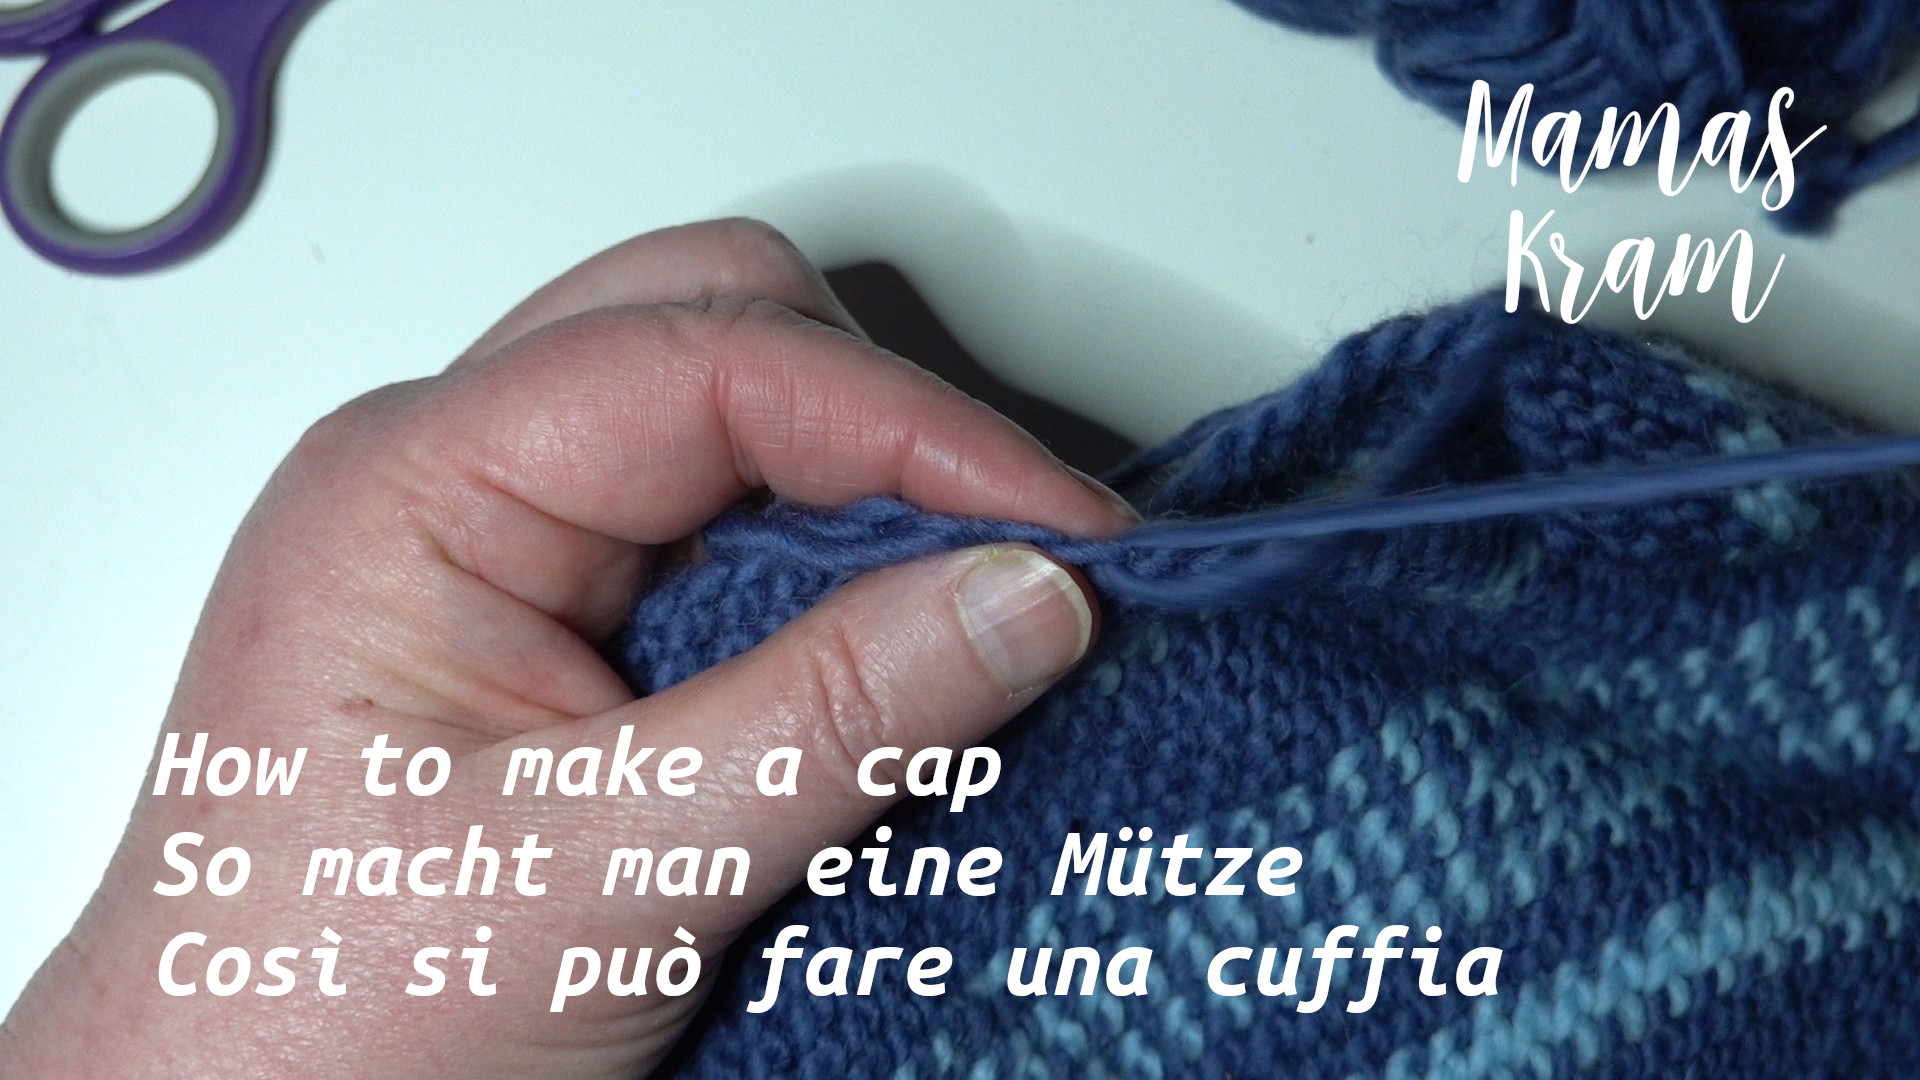
This video shows how to make a simple and stretchy naalbinding cap. I am using the traditional wooden needle as well as one made from metal and also two ways of “attaching” new thread.
Like you might have seen by now: you get a line when you always double in the same space. To avoid this I start in the 5th or 6th round to place the doubled loop always in different places and then do my regular loop count. Below I repeat the increases like I wrote them in the subtitles.
You might wonder how often I increased the number of loops: well in the end I had 70 loops per round.
And the number of rounds: 52 for this cap.
Yarn: I will give you some links to yarn that corresponts to what I am using here. (Always consider buying at your local markets :-))
Yarn quantity used: 60 g (50 g = 50 m / for knitting needles 8 mm / UK 0 / US 11)
The needle:
BUT: each of us works differntly. Therefore the easiest way to make the first cap is measuring it over and over again, just like I do in the video, comparing to a cap that fits. The other way is simply to measure how it fits on the head. Unlike crocheting and knitting you cannot easily unravel these caps. The advantage of naalbinding is that you won’t have any ladders (like you often have it knit garments). Since this particular naalbinding stitch (which is the easiest one IMHO) creates a farily stretchy cap it does not need to be as exact as with the Oslo stitch (which is the one most naalbinders use).
Instructions:
Round 1: bind 5 loops
Round 2: double each loop –> 10 loops
Round 3: double each second loop –> 15 loops
Round 4: double each third loop –> 20 loops
Round 5: double each fourth loop –> 25 loops
Round 6: here the rhythm how to increase loops changes. Double the second loop, and then double each 5th loop until the end of the round –> 30 loops
Round 7: double the 5th loop. Then double each 6th loop –> 35 loops
Round 8: here I double the 2nd loop again, and then each 7th loop –> 40 loops
Round 9: double the 1st loop, and then each 8th loop –> 45 loops
Round 10: double the 6th loop, and then each 9th loop –> 50 loops
From here on I did not increase any more. Depending from the head form, some increases further below might be fine (but it is really rare that this is needed).
Materials:
Wooden needles: https://amzn.to/3Ea2jdq (here I would really try to get them hand made from a market – these are not rounded well, but there are wooden needles)
Blunt metal needles: https://amzn.to/3srPRTJ
Blunt metal needles (including some for easier weaving): https://amzn.to/3QXgnyF
Pointed metal needles: https://amzn.to/3YNcKwS
Wool: https://amzn.to/3YQP5fg (there are also multi-coloured skeins)
Here is my linktree, from where you can find other contents:
https://linktr.ee/mamaskram
And if you would like to buy me a coffee, you can do so here:
https://www.buymeacoffee.com/mamaskram

If there is an instruction that is not clear, please let me know and I will improve the description. When you do knit all the time often there are obvious steps for the experienced knitter that are not obvious at all. The YouTube video is embedded below.