Posted on

How to make a cap with naalbinding

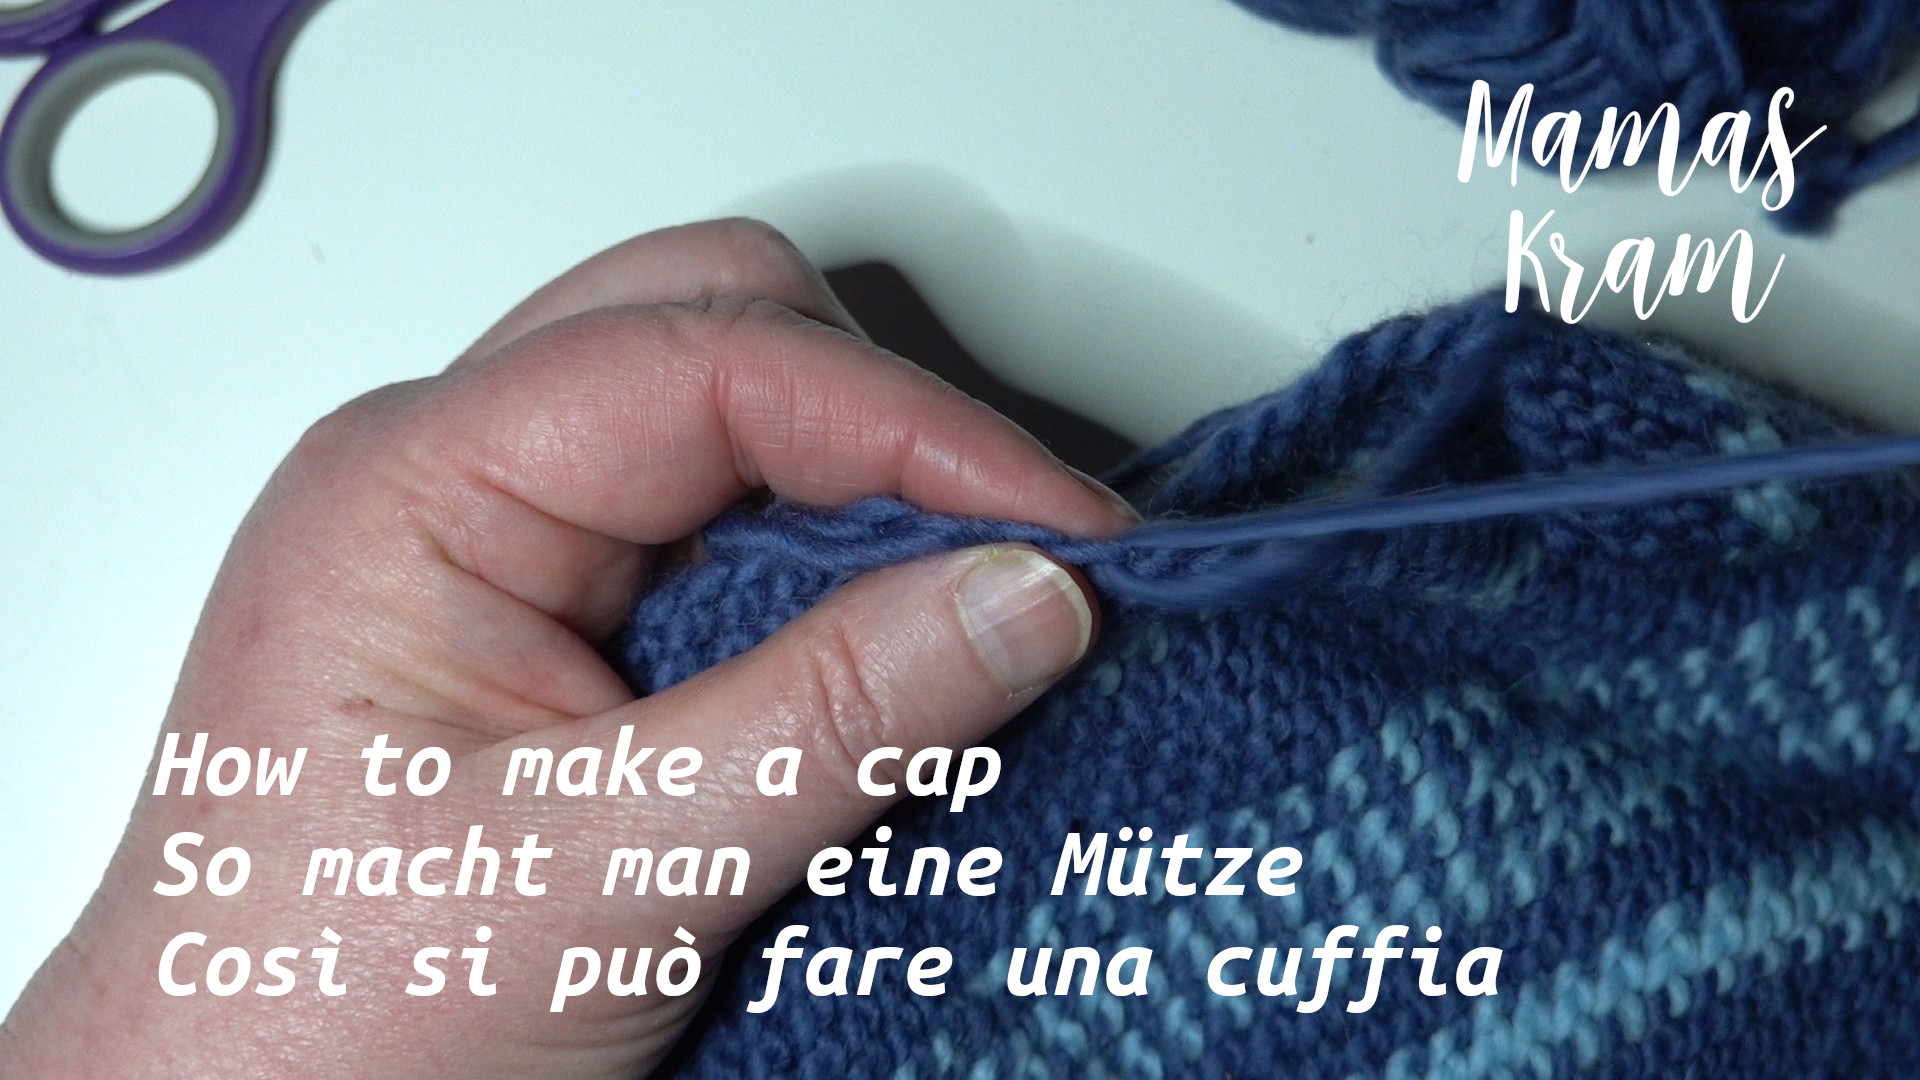
This video shows how to make a simple and stretchy naalbinding cap. I am using the traditional wooden needle as well as one made from metal and also two ways of “attaching” new thread.

Like you might have seen by now: you get a line when you always double in the same space. To avoid this I start in the 5th or 6th round to place the doubled loop always in different places and then do my regular loop count. Below I repeat the increases like I wrote them in the subtitles.

You might wonder how often I increased the number of loops: well in the end I had 70 loops per round.
And the number of rounds: 52 for this cap.
Yarn: I will give you some links to yarn that corresponts to what I am using here. (Always consider buying at your local markets :-))
Yarn quantity used: 60 g (50 g = 50 m / for knitting needles 8 mm / UK 0 / US 11)

The needle:
BUT: each of us works differntly. Therefore the easiest way to make the first cap is measuring it over and over again, just like I do in the video, comparing to a cap that fits. The other way is simply to measure how it fits on the head. Unlike crocheting and knitting you cannot easily unravel these caps. The advantage of naalbinding is that you won’t have any ladders (like you often have it knit garments). Since this particular naalbinding stitch (which is the easiest one IMHO) creates a farily stretchy cap it does not need to be as exact as with the Oslo stitch (which is the one most naalbinders use).

Instructions:
Round 1: bind 5 loops
Round 2: double each loop –> 10 loops
Round 3: double each second loop –> 15 loops
Round 4: double each third loop –> 20 loops
Round 5: double each fourth loop –> 25 loops
Round 6: here the rhythm how to increase loops changes. Double the second loop, and then double each 5th loop until the end of the round –> 30 loops
Round 7: double the 5th loop. Then double each 6th loop –> 35 loops
Round 8: here I double the 2nd loop again, and then each 7th loop –> 40 loops
Round 9: double the 1st loop, and then each 8th loop –> 45 loops
Round 10: double the 6th loop, and then each 9th loop –> 50 loops
From here on I did not increase any more. Depending from the head form, some increases further below might be fine (but it is really rare that this is needed).

Materials:
Wooden needles: https://amzn.to/3Ea2jdq (here I would really try to get them hand made from a market – these are not rounded well, but there are wooden needles)
Blunt metal needles: https://amzn.to/3srPRTJ
Blunt metal needles (including some for easier weaving): https://amzn.to/3QXgnyF
Pointed metal needles: https://amzn.to/3YNcKwS
Wool: https://amzn.to/3YQP5fg (there are also multi-coloured skeins)

Here is my linktree, from where you can find other contents:
https://linktr.ee/mamaskram

And if you would like to buy me a coffee, you can do so here:
https://www.buymeacoffee.com/mamaskram

Posted on

Anleitung für eine Mütze mit Naalbinding (Nadelbinden)

Dieses Video zeigt, wie man eine einfache und dehnbare Mütze mit Naalbinding herstellt. Ich benutze in diesem Video sowohl die traditionelle Holznadel als auch eine aus Metall und auch zwei Arten, um neuen Faden zu “befestigen”.

Wie ihr vielleicht schon gesehen habt: Man bekommt eine Art Linie, wenn man immer an der gleichen Stelle zunimmt. Um das zu vermeiden, fange ich in der 5. oder 6. Runde an, die verdoppelte Schlaufe (Zunahme) immer an verschiedenen Stellen zu platzieren und zähle die Schlaufen/Schlingen dann normal weiter. Nachfolgend wiederhole ich die Zunahmen so, wie ich sie in den Untertiteln geschrieben habe.

Du fragst dich vielleicht, wie oft ich die Anzahl der Schlingen erhöht habe: Am Ende hatte ich 50 Schlingen pro Runde.
Und die Anzahl der Runden: 52 für diese Mütze.
Garn: Ich werde dir einige Links zu Garnen geben, die dem entsprechen, was ich hier verwende. ( Denkt immer daran, auf euren lokalen Märkten zu kaufen :-))
Verwendete Garnmenge: ca. 60 g (50 g = 50 m / für Stricknadeln 8 mm / UK 0 / US 11)

Die Nadel:
ABER: jeder von uns arbeitet anders. Deshalb ist es am einfachsten, die erste Mütze anzufertigen, indem man sie immer wieder abmisst, so wie ich es im Video mache, und mit einer Mütze vergleicht, die passt. Die andere Möglichkeit ist, einfach zu messen, wie sie auf den Kopf passt. Anders als beim Häkeln oder Stricken kann man diese Mützen nicht einfach auftrennen. Der Vorteil des Nadelbindens ist, dass man keine Laufmaschen bekommt (wie man es oft bei gestrickten Kleidungsstücken hat). Da dieser spezielle Naalbinding-Stich (der meines Erachtens der einfachste ist) eine sehr dehnbare Mütze ergibt, muss die Weite nicht so genau sein wie beim Oslo-Stich (der von den meisten Nadelbinderinnen verwendet wird).

Anleitung:
Runde 1: 5 Schlingen binden
Runde 2: jede Schlinge verdoppeln –> 10 Schlingen
Runde 3: jede zweite Schlinge verdoppeln –> 15 Schlingen
Runde 4: jede dritte Schlinge verdoppeln –> 20 Schlingen
Runde 5: jede vierte Schlinge verdoppeln –> 25 Schlingen
Runde 6: Hier ändert sich der Rhythmus, wie man die Schlingen zunimmt. Verdopple die zweite Schlinge und dann jede 5. Schlinge bis zum Ende der Runde –> 30 Schlingen
Runde 7: Verdopple die 5. Schlinge. Dann jede 6. Schlinge verdoppeln –> 35 Schlingen
Runde 8: hier verdopple ich wieder die 2. Schlinge und dann jede 7. Schlinge –> 40 Schlingen
Runde 9: die 1. Schlinge verdoppeln, dann jede 8. Schlinge –> 45 Schlingen
Runde 10: verdopple die 6. Schlinge und dann jede 9. Schlinge –> 50 Schlingen
Von hier an habe ich nicht mehr zugenommen. Abhängig von der Kopfform können einige Zunahmen weiter unten in Ordnung sein (aber es ist wirklich selten, dass dies nötig ist).

Materialien:
Holznadeln: https://amzn.to/3Ea2jdq (hier würde ich wirklich versuchen, sie auf einem Markt handgefertigt zu bekommen – diese sind nicht gut abgerundet, aber es gibt Holznadeln, die es eben sind)
Stumpfe Metallnadeln: https://amzn.to/3srPRTJ
Stumpfe Metallnadeln (einschließlich einiger zum leichteren Weben): https://amzn.to/3QXgnyF
Spitz zulaufende Metallnadeln: https://amzn.to/3YNcKwS
Wolle: https://amzn.to/3YQP5fg (es gibt auch mehrfarbige Stränge)

Hier mein Linktree, von dem aus ihr weitere Inhalte finden könnt:
https://linktr.ee/mamaskram

Und wenn du mich auf einen Kaffee einladen möchtest, kannst du das hier tun:
https://www.buymeacoffee.com/mamaskram

Posted on

Come realizzare una cuffia con il naalbinding

Questo video mostra come realizzare una cuffia semplice ed elastica con il naalbinding. Utilizzo il tradizionale ago di legno e uno di metallo e due modi per “attaccare” il nuovo filo.

Come avrete già visto: si ottiene una riga quando si raddoppia sempre nello stesso spazio. Per evitare questo inconveniente, comincio dal 5° o 6° giro a posizionare la maglia raddoppiata sempre in punti diversi e poi faccio il conteggio regolare delle maglie. Di seguito ripeto gli aumenti come ho scritto nei sottotitoli.

Potreste chiedervi con quale frequenza ho aumentato il numero di maglie: alla fine ho fatto 50 maglie per ogni giro.
E il numero di giri: 52 per questa cuffia.
Filati: vi fornirò alcuni link di filati che corrispondono a quelli che sto usando qui. (Considerate sempre la possibilità di acquistare nei vostri mercati locali :-))
Quantità di filato utilizzato: 60 g (50 g = 50 m / per ferri 8 mm / UK 0 / US 11).

L’ago:
MA: ognuno di noi lavora in modo diverso. Perciò il modo più semplice per fare la prima cuffia è misurarla più e più volte, proprio come faccio nel video, confrontandola con una cuffia che vada bene. L’altro modo è semplicemente quello di misurare come si adatta alla testa. A differenza dell’uncinetto e del lavoro a maglia, queste cuffie non si possono disfare facilmente. Il vantaggio del naalbinding è che non si formano scalette (come spesso accade per i capi a maglia). Poiché questo particolare punto di naalbinding (che è il più semplice secondo me) crea una cuffia molto elastica, non è necessario essere così precisi come con il punto Oslo (che è quello usato dalla maggior parte dei naalbinders).

Istruzioni:
Giro 1: fare 5 maglie
Giro 2: raddoppiare ogni maglia –> 10 maglie
Giro 3: raddoppiare ogni seconda maglia –> 15 maglie
Giro 4: raddoppiare ogni terza maglia –> 20 maglie
Giro 5: raddoppiare ogni quarta maglia –> 25 maglie
Round 6: qui il ritmo di aumento delle maglie cambia. Raddoppiare la seconda maglia e poi raddoppiare ogni 5a maglia fino alla fine del giro –> 30 maglie
7° giro: raddoppiare la 5° maglia. Poi raddoppio ogni 6° maglia –> 35 maglie
Giro 8: raddoppio di nuovo la 2° maglia e poi ogni 7° maglia –> 40 maglie
Giro 9: raddoppio la 1° maglia e poi ogni 8° maglia –> 45 maglie
Giro 10: raddoppio la 6° maglia e poi ogni 9° maglia –> 50 maglie
Da qui in poi non ho più aumentato. A seconda della forma della testa, alcuni aumenti più in basso potrebbero andare bene (ma è davvero raro che sia necessario).

Materiali:
Aghi di legno: https://amzn.to/3Ea2jdq (in questo caso cercherei davvero di procurarmeli fatti a mano in un mercato – non sono ben arrotondati, ma ci sono aghi di legno)
Aghi metallici smussati: https://amzn.to/3srPRTJ
Aghi metallici smussati (compresi alcuni per facilitare la tessitura): https://amzn.to/3QXgnyF
Aghi metallici appuntiti: https://amzn.to/3YNcKwS
Lana: https://amzn.to/3YQP5fg (ci sono anche gomitoli multicolori)

Ecco il mio linktree, da cui potete trovare altri contenuti:
https://linktr.ee/mamaskram

E se volete offrirmi un caffè, potete farlo qui:
https://www.buymeacoffee.com/mamaskram