Bauernregeln nach Gustav von Horn, Die Kunst des Wetterprophezeihens (1869)
- Am ersten November haue einen Span aus einer Buche, ist er trocken, so wird der Winter streng und kalt; ist er nass, so wird der Winter feucht.
- Wenn im November die Wasser steigen, so wiederholt sich das alle Wintermonate und ein nasser Sommer ist zu fürchten.
- Donnert es im November, so soll es ein fruchtbares nächstes Jahr bedeuten.
- Baumblüte spät im Jahr, nie ein gutes Zeichen war.
- Sperrt der Winter zu früh das Haus, hält er sicher nicht lange aus; bleibt aber der Vorwinter aus, so kommt der Nachwinter mit Frost und Braus.
- Am Allerheiligen fest (1) ein später sommer sich blicken lässt (Alt-Weiber-Sommer).
- Allerheiligen Sommer – Allerseelen (2) Winter.
- Bringt Allerheiligen einen Winter, So bringt Martin (11) einen Sommer.
- Steckt Allerheiligen in der Pudelmütze, so ist dem heiligen Martin der Pelz zu nichts nütze.
- Am Allerheiligen, sitzt der Winter auf den Zweigen.
- Wenn das Laub von den Bäumen und Reben nicht vor Martini abfällt, ist ein kalter Winter zu hoffen.
- Ist das Brustbein der Martins-Grans weiß, so wird der Winter streng.
- Wolken am Martinstag, der Winter unbeständig werden mag, an Martini Sonnenschein, tritt ein kalter Winter ein.
- Kommt St. Martin mit Winterkält, ist’s gut, wenn bald ein Schnee einfällt. Man hat ihn lieber dürr als nass, so hält sich’s auch mit Andreas.
- St. Martin – Feuere im Kamin
- Nach Martini scherzt der Winter nicht.
- Die Witterung a Mariä Opferung (21) verkündet den Charakter des nächsten Winters: dieser wird nämlich trocken oder nass, je nachdem es an Mariä Opferung trocken oder nass ist.
- Katharinenwinter (25) ein Plackwinter.
- Wie’s um Katharina, trüb oder rein, so wird auch der nächste Hornung sein.
- Der Andreasschnee (30) tut dem Korn weh.
- Der Andreasschnee bleibt hundert Tage liegen und erstickt das Getreide.
- Wie der November, so der nächste Mai.
Weitere Bauernregeln für den November:
- “Ist der November warm und fein, kommt ein scharfer Winter hinterdrein.”
- “Wenn’s im November stürmt und schneit, ist der Winter nicht mehr weit.”
- “Im November viel Nebel und Regen bringt im Dezember viel Segen.”
- “Ist der November kalt und klar, wird stets ein strenger Winter war.”
- “Im November Frost und Wind, der Winter ein guter Hirt wird sind.”
- “Im November dunkle Tage, bringt dem Bauern volle Magenlage.”
- “Ist der November warm und nass, macht der Winter Spaß umso ras.”
- “Novemberregen bringt Segen, wenn es nicht zu viel geregnet hat.”
- “Ist der November kalt und trocken, kommt der Winter mit viel Schneeflocken.”
- “Bringt der November Nebel viel, wird der Winter hart und wild, doch fehlt der Nebel ganz und gar, wird der Winter mild und klar.”
- “Wenn die Eich’ ihr Laub behält, dann ist der Winter schon im Feld.”
- “Wenn die Rüben tief im Saft, dann wird der Winter lange kalt.”
- “Ist St. Leonhard (6. November) mild, dann wird der Winter wild.”
- “Novemberlicht in Nebelhülle, bringt dem Bauern volle Fülle.”
- “Trockener November und weißer Januar, oft ein gutes Jahr.”
- “Viel Nebel im November, viel Schnee im Dezember.”
- “Der November mit Nebel und Wind, der Bauer einen milden Winter find’t.”
- “Ist der November warm und hell, kommt der Winter nicht so schnell.”
- “Wenn’s im November friert und kracht, wird der Winter noch viel Macht.”
- “Novembernebel – kalter Januar, warmer März dafür fürwahr.”
Sollten Dir irgendwelche alten Bauernregeln für den November einfallen, dann schreibe sie mir doch in die Kommentare. Ich nehme sie dann unter weitere Bauernregeln mit auf.
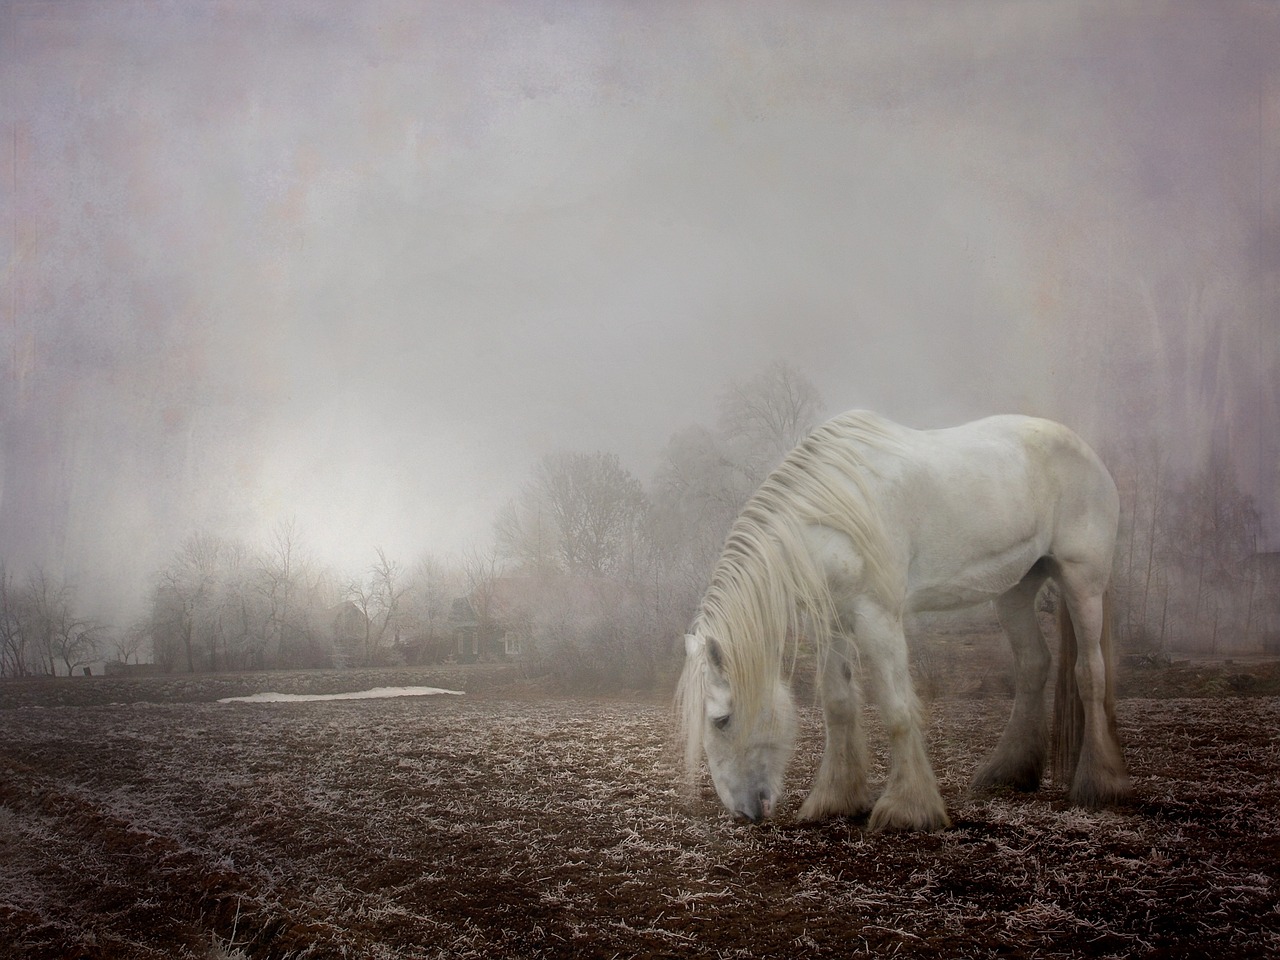
Image by Dorota Kudyba from Pixabay
Erstveröffentlichung: 01.11.2023