Garten, essen gehen, Country, trocknen, beschriften
Wir gehen auf Ende August zu und morgens sehen die Tage wie Herbsttage aus. Ja, ich sage das immer wieder. Was für ein seltsames Jahr zwischen Hitze, Regen und nebligen Morgen. Ich konnte einige Bohnen ernten und auch Radieschen und Chili. Ein Abend im Freien und ein Country-Fest in einer nahegelegenen Stadt, wo ich eine Stickerin entdeckte, die Armbänder und mehr mit sehr kleinen Perlen herstellte. Es war etwas seltsam, Squaredance hier in Deutschland zu sehen. Eigentlich wusste ich gar nichts von diesem Fest. Durch Zufall erfuhr ich, dass es jedes Jahr stattfand und wollte es mir deshalb ansehen. Wir haben dort Kaffee getrunken und zu Abend gegessen, und während wir uns hingesetzt haben, habe ich, wie so oft, an meiner Naalbinding-Arbeit weitergemacht. Naalbindearbeiten lassen sich auch in einer kleinen Tasche gut mitnehmen.
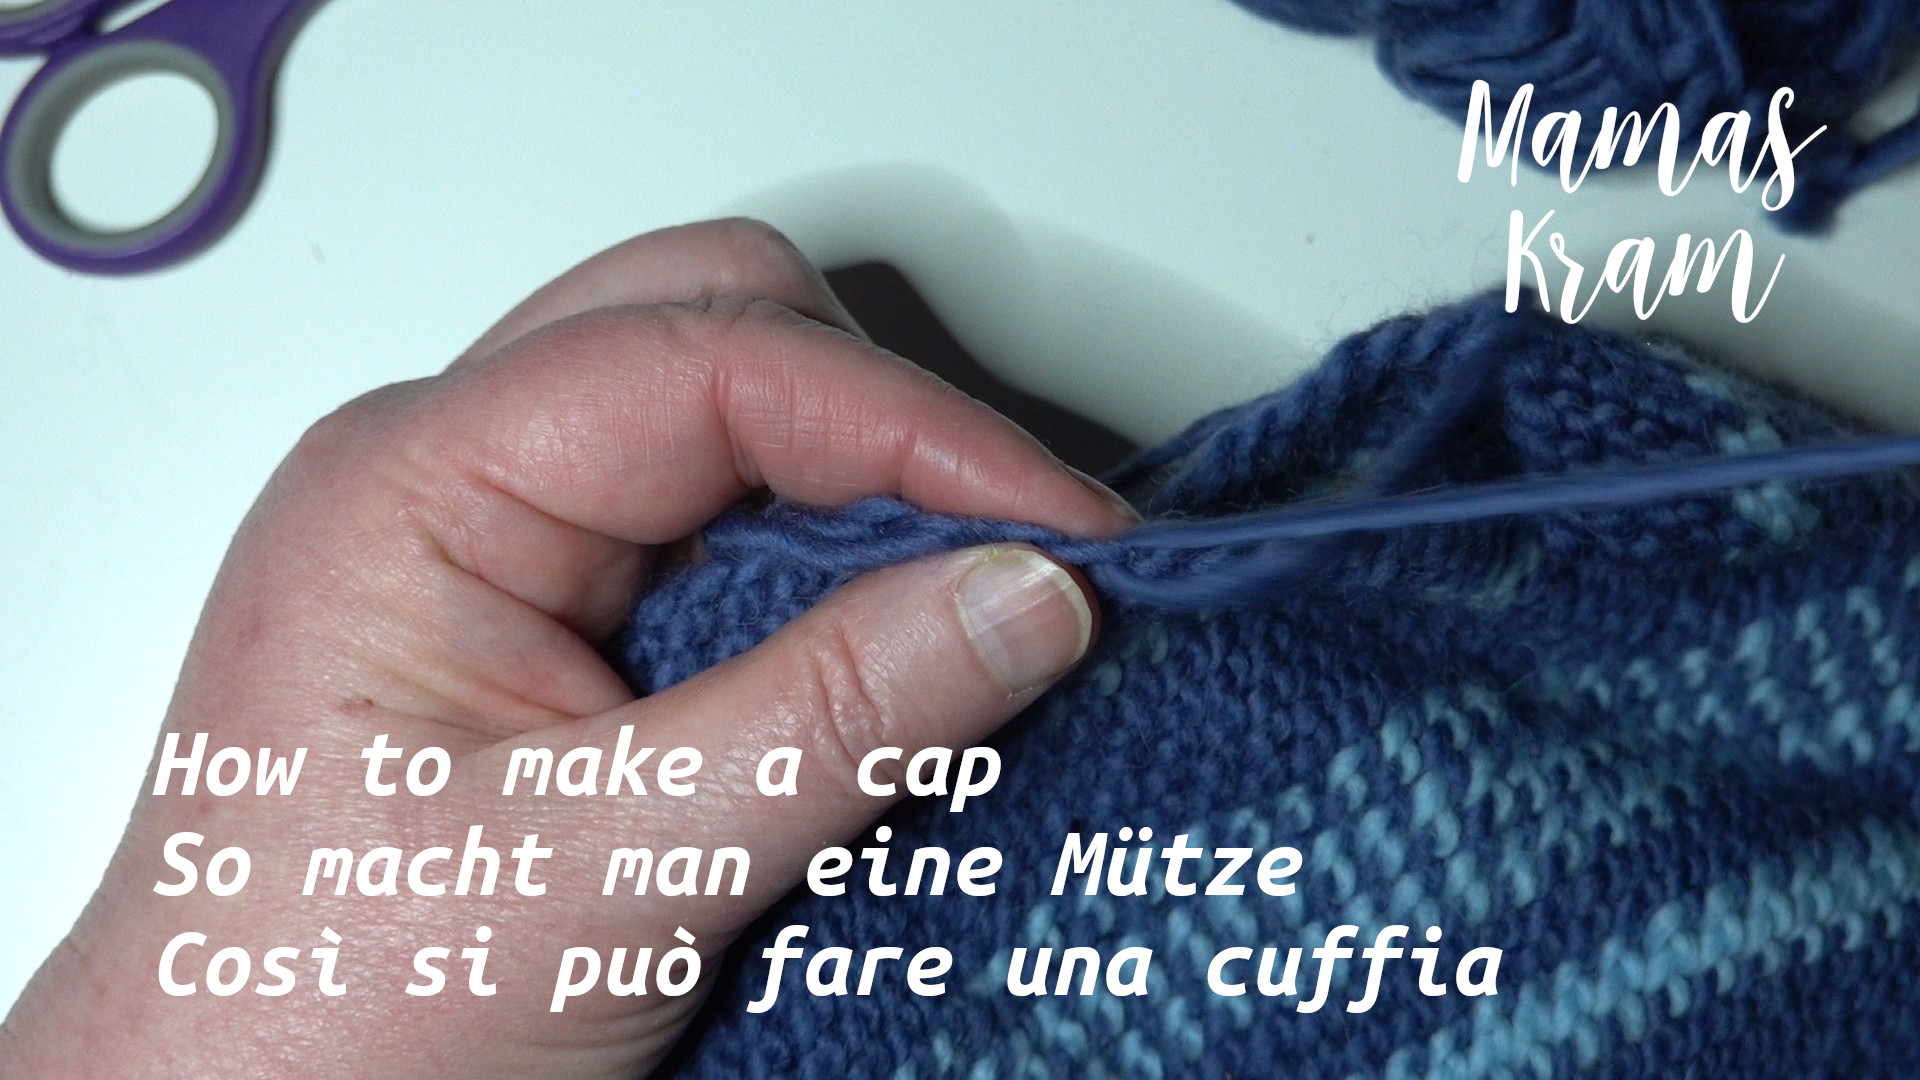
Ich habe wieder an Babysocken gearbeitet, um die drei Paar Babysocken für meine Freundin fertig zu bekommen.
Als das Gras vor dem Haus trocken war, habe ich zwei Wegerichsorten und etwas Schafgarbe gesammelt. Ich verwende sie für Tee und manchmal auch für Tinkturen. Dieses Mal habe ich alles getrocknet, um die Kräuter dann für Tee zu verwenden. Ich trockne alles zuerst an der Luft, ohne Strom, und wenn alles schon “trocken” (oder fast trocken) ist, kommen die Kräuter, Zucchini usw. noch eine Weile, meist 30 Minuten, in den Trockenautomaten, um sicherzustellen, dass sie wirklich trocken sind.
Die Lavendelpflänzchen und die aus Samen gezogenen Aprikosenbäumchen gedeihen gut.
Es war auch Zeit, mein Zucchini-Chutney einzuräumen, und so musste ich die Gläser beschriften. Normalerweise verwende ich Kreppband, da es sich leicht entfernen lässt. Sollte ich einige Gläser verschenken, entferne ich das übliche Kreppband und schreibe ein “schönes Etikett”.
Wie man sieht, trockne ich dieses Jahr sehr viel. Ein Grund dafür ist auch, dass getrocknetes Gemüse weniger Platz braucht als eingemachtes (ich habe keinen Keller, also ist es wichtig, Methoden zu haben, die weniger Platz benötigen).
Hier mein Linktree, von dem aus du weitere Inhalte finden kannst https://linktr.ee/mamaskram
Und wenn du mich auf einen Kaffee einladen möchtest, kannst du das hier tun: https://www.buymeacoffee.com/mamaskram
Musik:
Dream Machine by Purrple Cat | https://purrplecat.com
Music promoted by https://www.free-stock-music.com
Creative Commons / Attribution-ShareAlike 3.0 Unported (CC BY-SA 3.0)
Mountain Legend by Keys of Moon | https://soundcloud.com/keysofmoon
Music promoted by https://www.free-stock-music.com
Creative Commons / Attribution 4.0 International (CC BY 4.0)